Category Archives arts and crafts

Crafting with Mod Podge

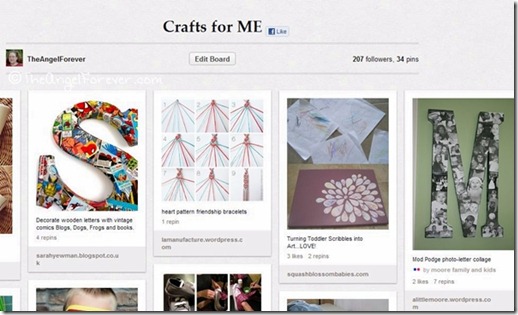
It has been years since I have done a major craft for ME that is not knitting. I love painting, making pottery, and doing other interesting items. Yesterday, I wrote about getting supplies to make slime with the boys. One of my Pinterest boards is filled with items that I would like to make for me, gifting, or beyond.

Crafts for ME on Pinterest

What you may notice with recent posts are a lot of items that involves decoupage or more specifically Mod Podge. In the photo above, you can see the Mod Podge photo-letter collage. I think that would be SO amazing to make for a teacher, grandparent, or other person with special memories on it. I have done similar items in the past, but not in a long, long, long time.

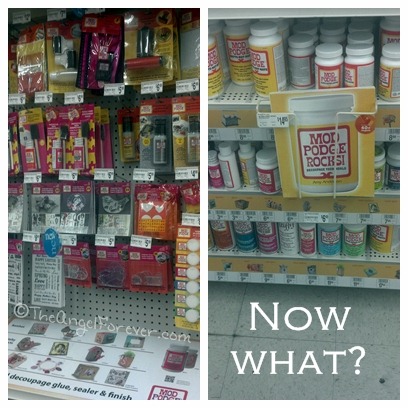
Since I really want to test these out, I went to the store to check out the section of Mod Podge items. This is what I saw:

Varieties of Mod Podge

In my quest to figure out what I want to try first, a friend told me about a website that is all about Mod Podge. Mod Podge Rocks is a blog written by Amy Anderson with lots of projects and more. Actually, if you look in the photo on the right at the book, that’s hers. There are so many ideas my head is spinning and I have to limit the amount of time that I spend looking. I have a feeling I may try Mod Podge earrings, sparkle sneakers, or the photo letter.

So my question to you this week:

Have you ever done a Mod Podge project before? Please share that below or some other craft that you enjoy doing when you have some time.

It's Me

P.S. If you are interested in checking out what is inside the Mod Podge Rocks!: Decoupage Your World book you can click on that link. It is to an Amazon Affiliate link where I will receive a small percentage from the sale. I know that I am thinking about purchasing the book soon.

___________________________________________________________________________

Thanks to Kailani at An Island Life for starting this fun for Friday. Please be sure to head over to her blog to say hello and sign the linky there if you are participating.

Aloha Friday by Kailani at An<br<br /><br /><br /><br /><br /><br /><br /><br /><br /><br /><br /><br /><br /><br /><br /><br /><br /><br /><br /><br /><br /><br /><br /><br /><br /><br /><br /><br /><br /><br /><br /><br /><br /><br /><br /><br /><br /><br /><br /><br /><br /><br />
    /><br /><br /><br /><br /><br /><br /><br /><br /><br /><br /><br /><br /><br /><br /><br /><br /><br /><br /><br /><br /><br /><br /><br /><br /><br /><br /><br /><br /><br /><br /><br /><br /><br /><br /><br /><br /><br /><br /><br /><br /><br /><br />
    Island<br /><br /><br /><br /><br /><br /><br /><br /><br /><br /><br /><br /><br /><br /><br /><br /><br /><br /><br /><br /><br /><br /><br /><br /><br /><br /><br /><br /><br /><br /><br /><br /><br /><br /><br /><br /><br /><br /><br /><br /><br /><br /><br /><br /><br />
    Life

Aloha #212

Share:
Share on Facebok
Share on Pinterest
Share on Google+


Summer Fun from Pinterest

Last summer, we had a lot of rain and I was constantly trying to figure out what to do with the boys inside. Rain has hardly been an issue this year. Instead, heat and humidity are making it hard to spend too much time outdoors. This is where Pinterest has been helpful. I have found some very interesting items to try out with the boys.

My Pinterest Crafts for kids, Crafts for ME, Summer Fun, and Educational Fun at Home boards are places I go to for ideas. While out and about with JSL the other day, I confused him with some purchases. Here they are:

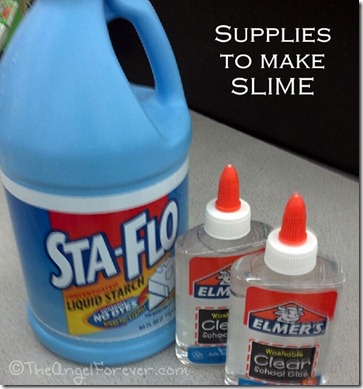
Supplies to make slime

Thanks to a pin that I noticed the other day, I knew that I needed liquid starch and clear glue (not the easiest to find) to make slime. When I saw the glue on the shelf at the store, I went on a hunt for the other missing item. The food coloring is already at home. Next step, we will follow the directions on Tot Treasures: Explore the Art of Play to hopefully make slime like the pin below:

Source: tottreasuresnorthbay.blogspot.com via TheAngelForever on Pinterest


Now we have everything all set to make our own slime and you know I will be taking photos along the way. What other items have you made, or seen that you would love to test out with the kids (or yourself) this summer?

It's Me

Share:
Share on Facebok
Share on Pinterest
Share on Google+


Making Sand Art Cards

Dear NHL and JSL,

The two of you adore making crafts. With a smaller house, it is sometimes hard to get into more elaborate items in our space. Last summer, we spent a lot of time at Michaels for their passport art program. One of our favorites was the sand art (Tibetan sand paintings) for China. This year, the library had a sign up for a Sand Card Art activity run by the Scotia-Glenville Traveling Children’s Museum.

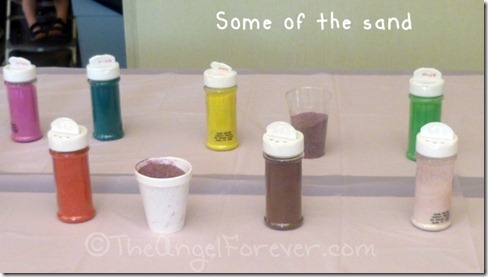
When we walked into the room, everything was set up. This is what you both found on the table that we sat at:

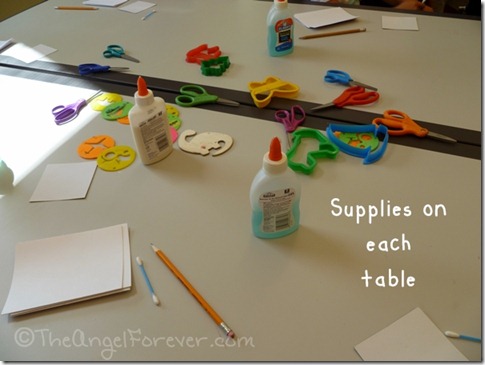
Some Sand Art Supplies

Each of the tables around the room were set up the same way. There were items to trace, pencils, scissors, cardboard for glue, glue, q-tips to use with the glue, and cards to design. Then, in the front of the room, there was a table that had a table cloth strategically set up on it.

Lots of Sand Colors

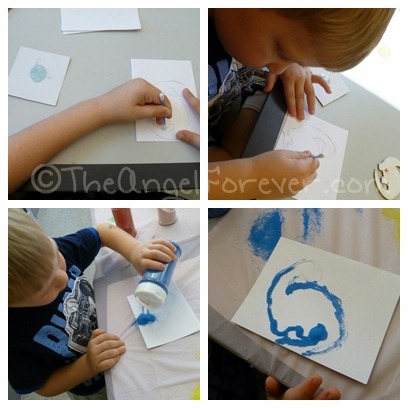
One of the librarians introduced the nice woman from the museum who explained the steps in making the sand art. She also showed everyone some card examples. Once she was done, it was time to get to creating. Both of you wanted to make a dinosaur, so you began with that.

Dinosaur Sand Art Card

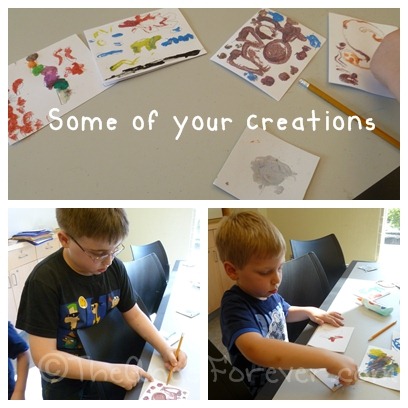
After the dinosaur, you both created some other items and it was fun to watch. NHL, you wanted to make the scar that is on Harry Potter along with his name. JSL you did more modern art and mixed sand color technique.

Sand Art Creativity

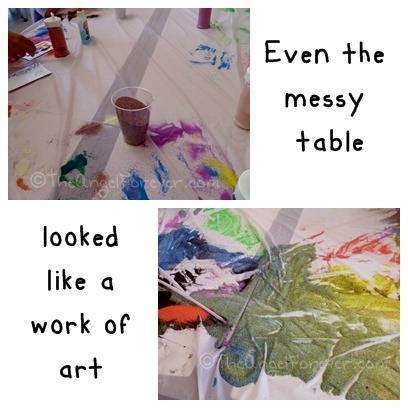
One other thing that I noticed was the table where the sand had been sitting at the start. The sand colors on the table cloth were just fascinating to look at themselves.

Sand Art Aftermath

Although it was hard to keep up with both of you at the same time, it really was a lot of fun. I can not wait to head to more events over the rest of the summer with you. Oh and perhaps we will get some supplies to try sand art for the holidays.

Love,

Mommy

P.S. A huge thank you to the libraries in the area for hosting such amazing programs for the kids over the summer. Your patience and smiles are greatly appreciated.

Share:
Share on Facebok
Share on Pinterest
Share on Google+


Making Wind Chimes

Dear NHL & JSL,

This week we went to the library for one of their summer projects. They were going to make wind chimes and it was a two part project. We had to sign up for it since they only had supplies for so many people.

Wind Chime Craft

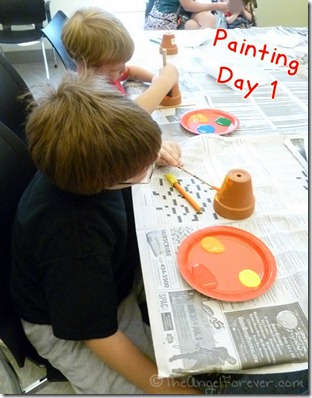
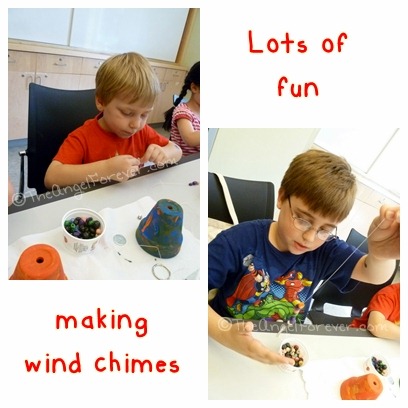
When we arrived, all of the supplies for the painting day were set out for project. You had paint brushes and small terra cotta pots. The librarian explained that you would be painting these on the first day. Lots of paint options were set out for people to select from. NHL, you wanted all warm colors. Your selections were red, orange, and yellow. JSL, you immediately wanted blue and then gold. The gold was not working right, so you opted for green and yellow.

Paiting Wind Chimes

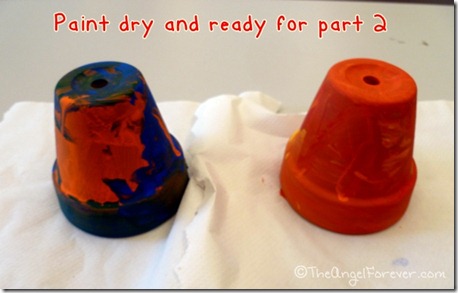
It was fun watching your techniques. JSL, you wanted to cover the entire pot in one color and then add some stripes and dots of another. NHL, you were going for a more bold tie-dye effect. Both of you were done rather quickly, so we brought the clay pots to the room for them to dry over the holiday.

Top of wind chimes ready

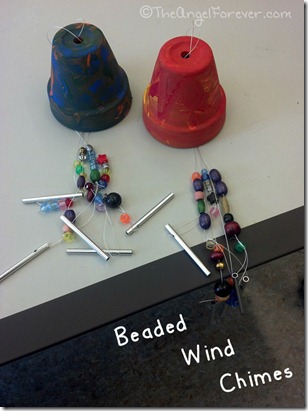
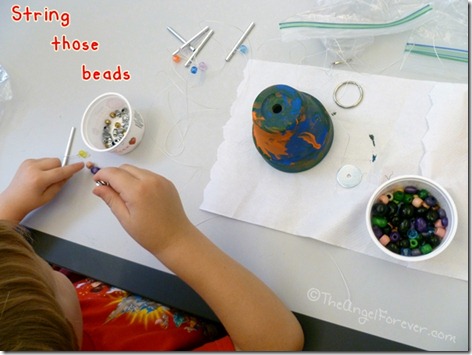
Since the next step was VERY time consuming, the librarians helped you out. They had baggies set up with fishing line attached to a bead and the chimes at the end. There were five of these, the clapper (which was missing a string), key ring circle, and latch to hang up your creation.

Beads for the wind chimes

Both of you had a lot of fun creating all of your beaded sections. While you worked on those, I tied them onto the key ring.

Making Wind Chimes

We had to leave the clapper off since it was getting knotted up with the string they had left. Not a big deal since the chimes and beads were producing a nice sound on their own.

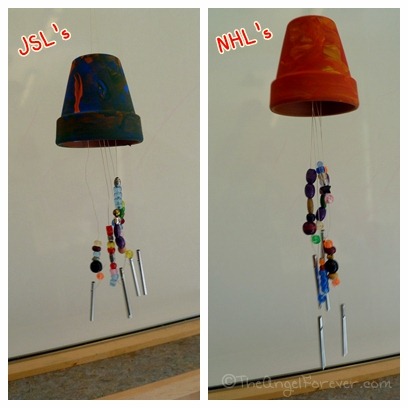
Finished wind chimes

Now we just need to figure out where to put the wind chimes. I think we may get some hot glue to make the key ring stay in place. It was a lot of fun to make a new craft with both of you during a summer fun event at our library. I can’t wait to see what we do next time.

Love,

Mommy

Share:
Share on Facebok
Share on Pinterest
Share on Google+


Michaels Passport to Imagination Surprise

Dear NHL and JSL,

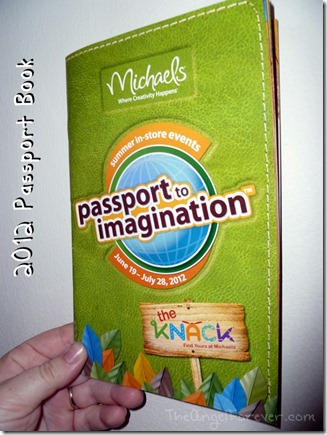
Last summer, we traveled to many different countries. We had craft filled adventures to Canada, Australia, India, Russia, France, Mexico, China, and Brazil. There were other countries, but we just could not make it to all of them and the programs at the library. It was a great time thanks to Michaels and their sponsors. This year, they are doing the same program.

Michaels 2012 Passport to Imagination Book

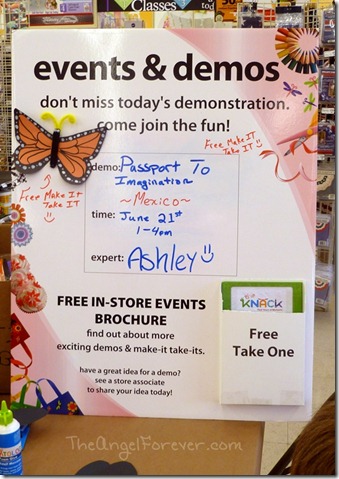
Since it was a half day of school on Thursday, I decided to surprise both of you and take you to the Mexico event. JSL loved making a stingray on Tuesday, so I knew it would be a nice change and break in the heat. When we arrived, the table was set up in the front of the store with the items being made.

Michaels Mexico Passport to Imagination welcome sign

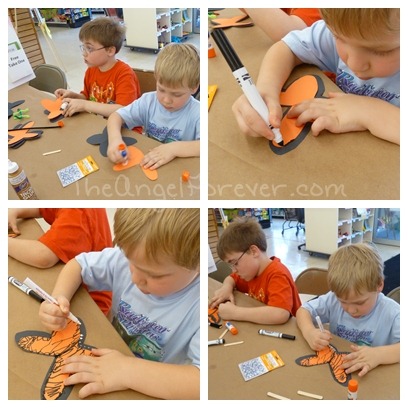
Just like last year, the people at our local Michaels store have been so wonderful, helpful, and patient. They quickly showed both of you how to get started making monarch butterfly. Both of you had a great time trying out some new items like the paint pen.

Making monarchs from Mexico at Michaels

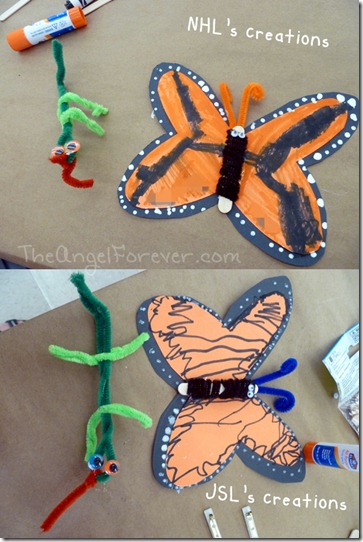
When your monarchs were finished, it was time to make some gecko lizard pins. NHL, I loved how you wanted your gecko to have an extra long tongue. JSL, then you asked to have two different colored eyes on yours.

Finished crafts from Mexico

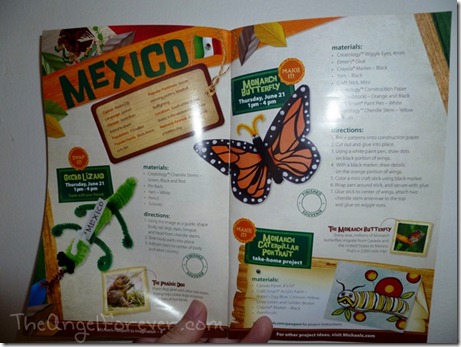
I know we will reference the passport book for more ideas to create over the summer and to learn about the places that we “travel” to together.

Mexico Passport to Imagination Page

Today is the first official day of your summer vacation. I am sure we will have many more days at Michaels and other locations exploring all that is out there together. Watching your faces and smiles makes this time even more special.

Love,

Mommy

Share:
Share on Facebok
Share on Pinterest
Share on Google+